How to Photograph Cityscapes at Night: Settings, Timing and Composition
Night city photography means recording a built environment after the sun has gone, when the light comes from windows, street lamps, signs and traffic instead of the sky. The camera reads that scene differently than your eye does: shadows collapse to black, bright signs blow out, and colour drifts between one kind of lamp and the next. Most of the work is deciding what to keep and what to let fall dark.
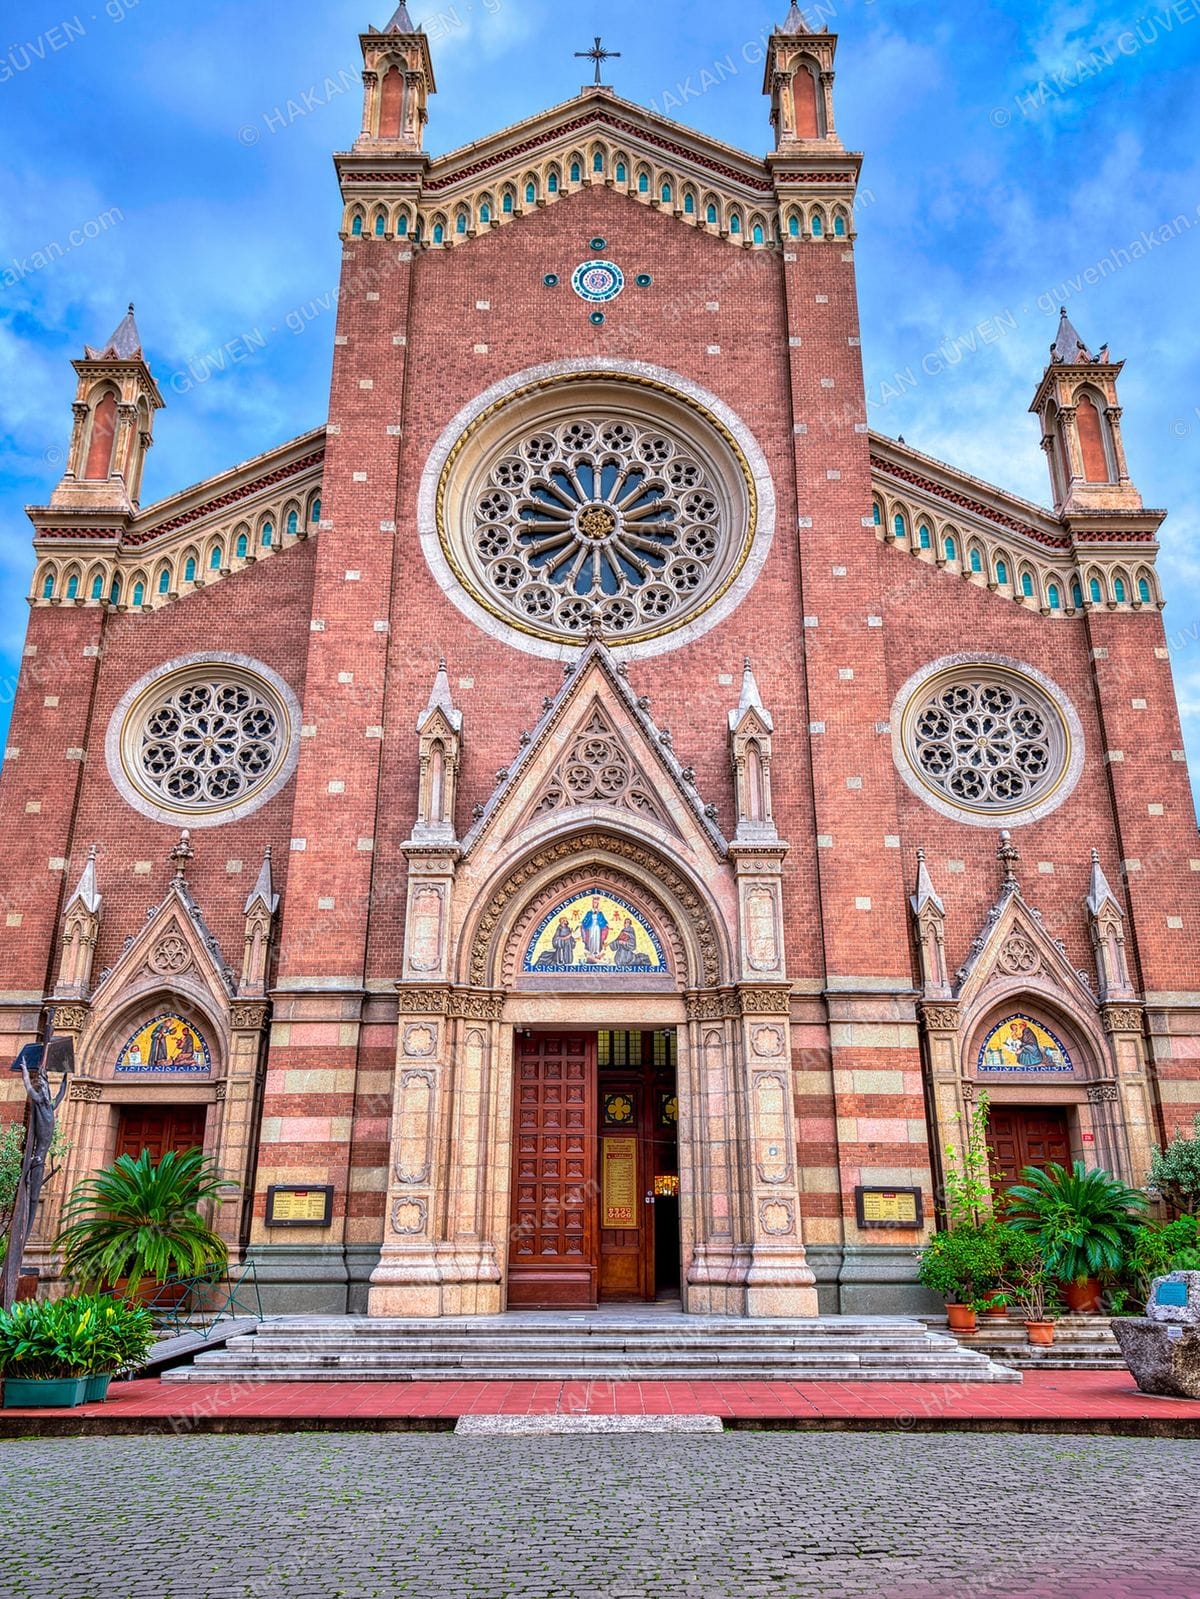
- Blue hour offers a darker sky than daylight but brighter ambient light than full night, which makes the exposure of buildings and lamps easier to balance.
- A long exposure turns moving headlights into continuous streaks, so a busy road can light a scene that would otherwise be too dark to record.
- Raw capture keeps highlight detail on bright signs recoverable, while in-camera JPEG processing discards it at the moment of shooting.
- Cold temperatures reduce battery capacity, so spare cells stay usable longer when carried close to the body.
If you are planning a night walk somewhere new, the travel section is a good place to see how a place reads in different light.
When is the best time to photograph a city at night?
The best window is the twenty minutes right after sunset, when the sky still holds colour and the street lights are already burning.
Full darkness is dramatic but harder to control. The sky flattens into a black band, lamps become the only source, and the gap between a lit façade and the space around it gets brutal. Blue hour softens all of that. There is still light in the sky, so buildings keep their edges and the streets read as places rather than holes.
Arrive before sunset. Walk the route in daylight, note where a tripod can stand without blocking a pavement, and pick two or three frames in advance. When the light turns, you want to be setting up, not hunting for a position while the colour drains out of the sky.
Clouds help more often than they hurt. A low, even layer picks up the glow of the city and gives the sky some texture, while a clear sky can look empty above a busy street. Wind matters too, because a long exposure and a swaying tripod do not mix well.
Which camera settings keep a night cityscape clean?
Put the camera on a tripod, work at base ISO with a narrow aperture, and let a long shutter speed gather the light instead of pushing sensitivity.
The order of decisions matters. Set sensitivity first and keep it as low as the camera allows, because noise in a night file is mostly a choice rather than a fate. Then close the aperture a couple of stops down from wide open, where most lenses are sharpest and small light sources keep their shape.
The shutter speed does the rest. Somewhere between one second and half a minute covers most streets, and you can look at the screen and adjust from there. Turn stabilisation off when the camera sits on a tripod, switch to manual focus, and focus on a bright edge roughly at the distance you want sharp.
Shoot raw. A raw file keeps the highlights of a bright sign recoverable and gives you room to fix mixed colour later without the image falling apart. The checklist is short:
- Camera on a tripod, head locked
- Base ISO, narrow aperture
- Long shutter, stabilisation off
- Manual focus on a bright edge
- Raw files, spare battery
How do you expose for mixed artificial light?
Expose so the brightest signs keep some detail, then let the shadows sit dark and open them later in editing.
Every city at night is a mix of sources: warm sodium lamps, cold LEDs, greenish office floors, blue neon. No single white balance fixes all of it, so choose the setting that flatters the scene and correct the rest locally afterwards.
Watch the histogram but do not obey it blindly. A blown lamp is acceptable; a blown façade is not. If the range is too wide for one frame, take two, one exposed for the lights and one for the shadows, and blend them at home. That is faster and safer than fighting the meter on the spot.
Bracketing works best when only one variable changes. Lock the camera down, keep the aperture identical across frames, and adjust only the shutter speed so the blend lines up without ghosting around moving lights.
What makes a night composition work?
A strong foreground, one clear line into the skyline and a level horizon do more for a night frame than any camera setting.
Night compresses depth. Buildings far away and lights close by merge into the same bright mass, and the picture turns into a scattering of dots. Fix it with something near the camera: a railing, a wet kerb, the corner of a bridge, a line of parked bicycles. That object anchors the frame and tells the eye where to start.
Look for repetition and then break it once. Windows in a grid, lamps receding down an avenue, the arches of a bridge, and then a single lit window or a person crossing so the eye has somewhere to land. The break is what people remember.
Keep the horizon straight, especially over water. A tilted skyline is the first thing a viewer notices and the last thing they forgive, and it is far easier to fix while shooting than to argue with later.
How do you use rain, reflections and traffic?
Wet ground and moving traffic become free light sources, because they spread and stretch the light already in the scene.
Rain is not bad weather for this work. Wet asphalt mirrors signs and windows, doubling the light and putting colour where the pavement would otherwise be flat grey. Shallow puddles near the camera give you a second composition without moving your feet.
Traffic becomes a tool. A long shutter turns headlights into continuous streaks and tail lights into red lines, and those lines point wherever the road goes. Stand where the road curves or bends so the streaks lead the eye somewhere instead of running straight out of the frame.
People present the opposite problem. At a second or two they smear into ghosts; at ten they vanish entirely. Both can work. If you want a clean street, let them disappear. If you want life in the picture, wait for someone to stop walking and stand still.
Which lens is worth carrying after dark?
A moderate wide lens covers most streets, and a fast prime is handy when you want to leave the tripod at home.
Most night streets want a wider view than you think, because you need room for the foreground object as well as the skyline. Something in the moderate wide range keeps the buildings upright and still leaves space at the edges of the frame.
Flare is the real enemy. Every bright lamp in or near the frame can throw a smear across the picture, so shade the front element with your hand or a hood and check the screen at full size. A fingerprint on the glass shows up in every frame taken towards a light.
If you prefer to walk without a tripod, a fast prime and a wall to lean on will get you a usable frame at a higher sensitivity. It is a different look, looser and noisier, and sometimes that suits the street better than a polished long exposure.
How should you edit a night file?
Edit night frames gently: recover highlights, open the shadows a little, control the colour casts and leave contrast alone.
The temptation is to push everything. Resist it. Pull the highlights back first, then lift the shadows only until texture appears; beyond that point you get noise and grey mud. A modest amount of noise reduction beats a sky that looks like plastic.
Colour needs local attention rather than one global setting. Cool the shadows slightly and warm the windows, or the reverse, depending on the mood you want. A street with three kinds of lamp will not respond to a single slider.
Finish by checking the frame at full size for sensor dust, stray cables and clipped lamp cores. Flat night skies and plain walls show every speck, and a small clean-up job takes less time than fixing it after publication.
How do you stay safe while shooting after dark?
Stay visible, keep your kit close and choose busy, well-lit places over empty ones.
Work where people are. A busy bridge at midnight is safer and more interesting than an empty industrial estate. Wear something light-coloured, keep the bag in front of you, and never leave a tripod unattended while you walk away to check a composition.
Check local rules before you set up. Some squares, stations and viewpoints need a permit, and a guard will simply ask you to stop. Asking first usually takes a minute and saves the whole evening, and it often comes with a tip about a better corner of the same square.
Carry a small torch, a lens cloth and a spare battery kept warm in an inside pocket. Cold drains batteries quickly, and a smeared front element softens every frame you take towards a lamp.
The portfolio is where these decisions end up, once the frames are edited and ready to show.
Frequently Asked Questions
Do I need a professional camera for night cityscapes?
No. Any camera that lets you set the shutter speed manually and save raw files is enough. A steady tripod changes your results far more than a newer body would.
Why are my night photos blurry?
It is almost always movement. Either the camera shifted during a long exposure, or stabilisation was left switched on while the camera sat on a tripod and started correcting nothing.
Should I use night mode on my phone?
It helps a lot, but brace the phone against a wall, railing or bin. The phone stacks several frames, and any shake between them softens the final image.
Why does the sky look orange or brown?
That is light pollution bouncing off cloud and haze. Shoot earlier in the evening, point away from the densest glow, or accept the colour and use it as part of the picture.