Architecture Photography Tips for Old Buildings and Historic Streets
Photographing old buildings and historic streets means recording how a place has aged — stone, brick, ironwork, worn thresholds — and how all of it sits inside the street around it. The subject is never just a facade. It is the corner, the doorway, the wet pavement, the person waiting at the light. Here is how we approach it when a town is older than anything we usually point a camera at.
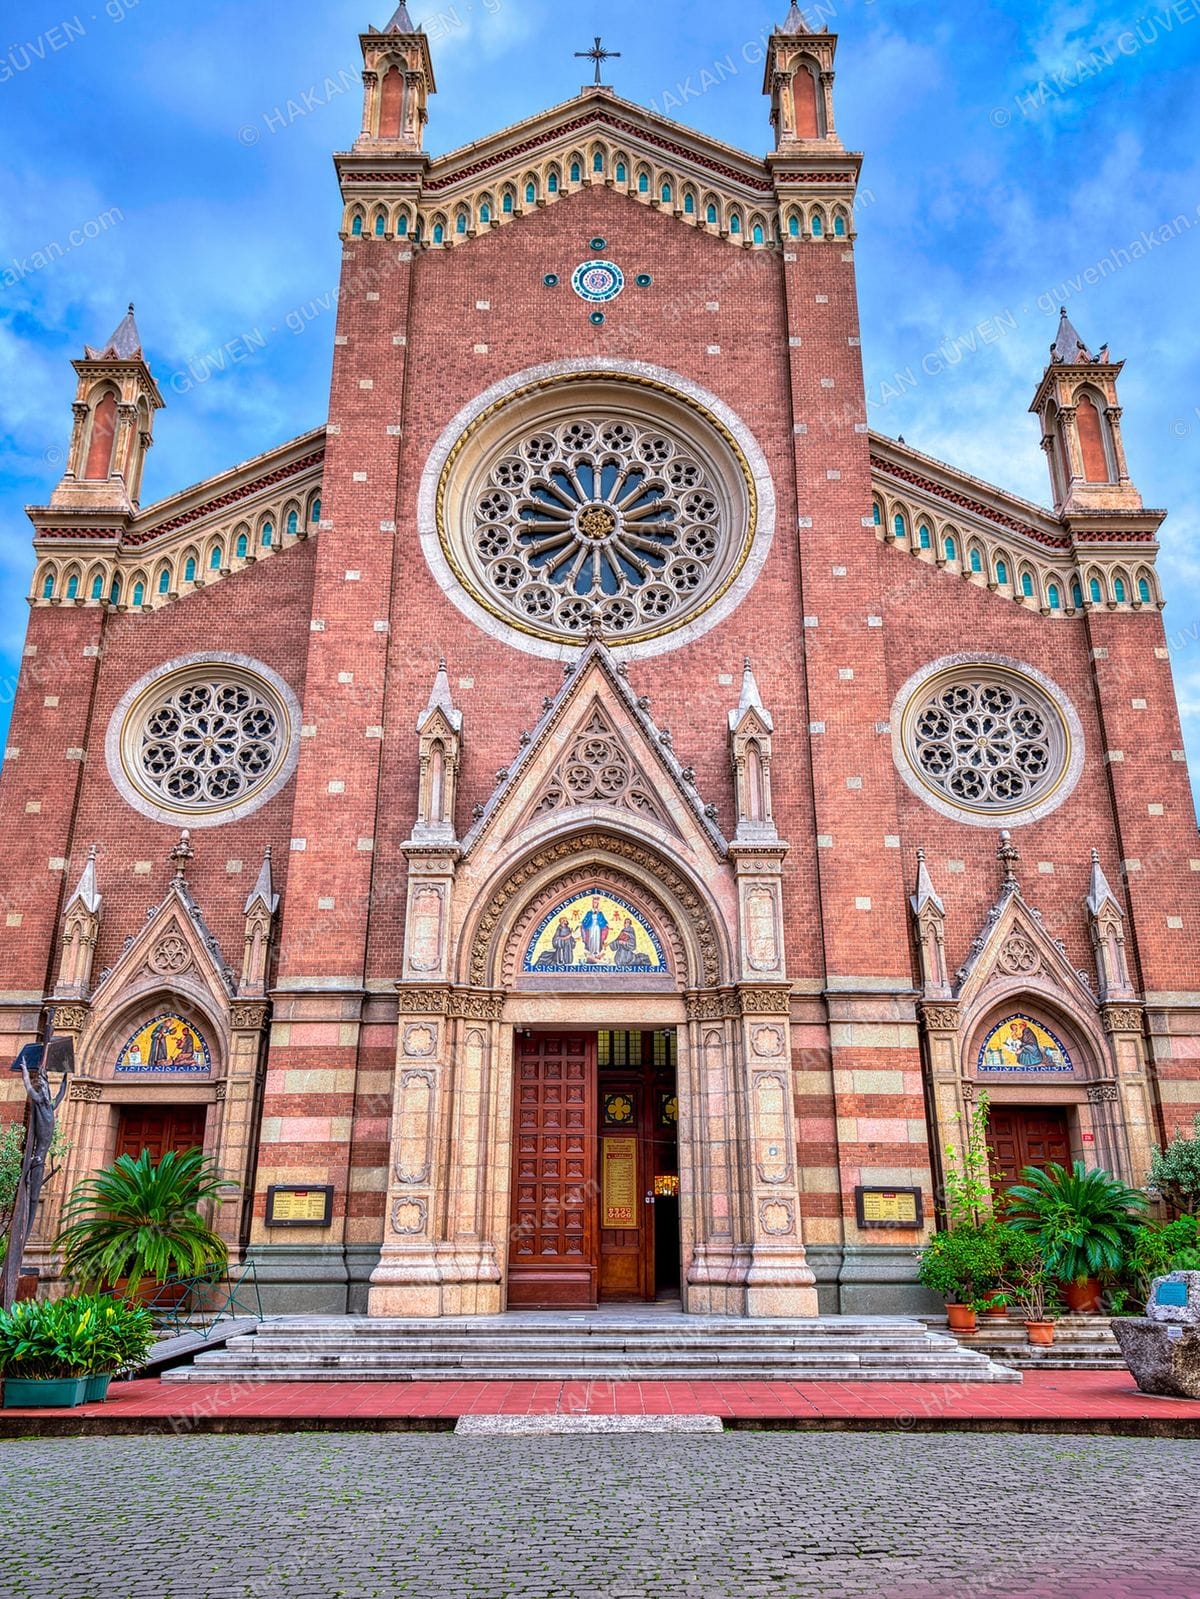
- A level camera keeps vertical lines parallel, while tilting the lens upward makes the walls of a building converge toward the top of the frame.
- Overcast light fills shadows and preserves detail in both bright stone and dark doorways, which is why a flat white sky often suits old facades.
- At blue hour the sky still carries color while street lamps are already lit, so a single exposure can hold both without heavy editing.
- Wide-angle lenses exaggerate converging verticals whenever the camera is tilted up, which is why narrow streets produce leaning towers so easily.
Start With the Light on the Stone, Not With the Building
Old stone and brick read best in soft, angled light, so check how the sun crosses a facade before you set up.
Hard noon sun flattens carved detail and drops black shadows across a wall. Come back when the light rakes along the surface instead — early morning or the last hour before sunset — and the stone starts to show what it is made of.
An overcast sky is not a wasted day. A white sky behaves like one enormous softbox, filling shadows so that bright stone and dark doorways both keep their detail. For a weathered facade, that even light is often the better deal.
Walk the street twice before you unpack anything: once with the sun behind you, once with it in your face. The same building reads as two different places, and the second pass is usually where the interesting angle turns up.
Watch the shadow line too. Half a wall in sun and half in shade can be the whole picture, or it can be a mess — move ten steps and find out which.
Keep the Camera Level and the Walls Stay Straight
Holding the camera level and stepping back keeps a building's walls parallel, while tilting the lens upward pulls the top of the facade into a wedge.
The most common mistake on a narrow street is standing at the foot of a tower and tilting the lens up. Every line leans inward and the building looks ready to fall over backward.
Step back if the street allows it, raise the camera to chest height, and keep the back of the camera parallel to the wall. You will lose the top of the frame. Crop it, or cross the street and try again from further away.
A wide lens exaggerates the lean, which is why phone cameras in old squares so often produce tilting towers. Keep the camera level and let the wide view collect the pavement, the shopfronts and the corner instead of the roof.
Editing can straighten a small error. It cannot rescue a frame where the camera was pointed at the sky.
Let the Street Do the Composing
Curb lines, tram rails, doorways and narrow alleys work as leading lines that pull the eye toward the facade you came to photograph.
A historic street already has a structure — a curb, a gutter, a line of awnings, a run of identical windows. Find that line and place your subject at the end of it.
Doorways and arches make natural frames. Stand inside a passage and shoot out toward the facade opposite; the dark edge of the arch does the work of a mat around a picture.
Repetition is the other free tool: shutters, columns, lamp posts, balconies. Shoot the pattern clean and straight, then wait for something to break it — one open window, one delivery cart, one person crossing.
If you want a city that rewards this kind of slow walking, the photo spots in Istanbul give you old walls, water and street life within a few minutes of each other.
Move In Close for the Details That Carry the Age
The age of a building lives in hand-sized details such as chipped plaster, iron hinges and worn steps, so spend as much time at the wall as across the street.
Age shows at arm's length: chipped plaster, iron hinges, a step worn into a shallow curve, a door handle polished by hands. Put the camera close to the wall and the building tells you more than any wide shot.
Shoot flat-on where you can. A facade detail photographed square to the wall keeps its geometry, while an angled close-up introduces a lean you will fight later on the screen.
Your own shadow is the usual spoiler at this distance. Step to the side, check the reflection in a window, and if you are working near a doorway, make sure you are not standing in somebody's way.
A short telephoto compresses rows of windows nicely and lets you pick out a single balcony without climbing anything.
Weather and the Blue Hour Beat Clear Noon Skies
Rain, overcast skies and the minutes after sunset give historic streets better light than a clear noon, keeping both stone and lamps readable.
Rain improves old streets. Wet cobbles pick up the lamps, colors deepen, and the street gets quiet enough to work without dodging crowds. A plain umbrella held over the camera is usually enough.
The minutes after sunset do the rest. At blue hour the sky still holds color above the rooftops while shop windows and street lights are already on, so one frame carries both.
Fog and mist behave in a similar way, separating the near wall from the far one and hiding whatever was built last year behind it. Expose for the stone and let the sky go pale.
Once it is fully dark, the approach changes — this piece on how to photograph cityscapes at night covers the settings and the timing in more detail.
Wait for a Person to Give the Street Scale
A single person walking through the frame gives the street scale, rhythm and a sense of life that an empty view cannot.
An empty street is a stage set. One person passing through it gives the facade a height, the pavement a purpose and the photograph a moment.
Pick a spot with a clean background, frame it, then wait. Most people arrive in twos and threes; the single figure comes eventually. Silhouettes, umbrellas and winter coats carry more mood than faces — and they keep the picture respectful.
At dusk, a slightly slower shutter turns a walker into a soft streak. Try both versions, one sharp and one blurred, and decide when you get home.
Patience is the whole technique here. Ten minutes of standing still usually beats ten more minutes of walking.
Behave Like a Guest in a Living Neighborhood
Historic streets are somebody's home or workplace, so ask before close portraits, keep doorways and sidewalks clear, and follow posted rules.
These streets are a front step, a workshop and a living room for the people who stay. Ask before photographing a person up close, and take a no without negotiating.
Keep crossings, shop entrances and sidewalks clear, especially with a tripod. Many historic sites and narrow lanes restrict tripods outright, and some charge for commercial work, so read the sign at the entrance rather than learning it from a guard.
If the shoot is for a building, a business or a publication, it is worth arranging beforehand — the contact page is where to start, with the place and rough timing so the light and the access can be planned together.
Photographing an old town well is mostly a matter of showing up at the right hour and not being in the way. Old towns reward patience more than gear, and slowing down in Lviv is a good read on what that patience actually looks like.
Edit for Honesty, Not Drama
Small corrections such as straightening, opening the shadows and fixing a color cast keep an old facade believable, while heavy HDR turns stone into plastic.
Start with geometry: straighten the verticals, then the horizontals, then judge exposure. In that order, because a leaning wall makes every other decision harder to read.
Lift the shadows far enough to see the stone and no further. Pushed too hard, dark doorways go gray and texture goes flat. Old masonry should keep some weight.
Color needs a light hand as well. Stone in late sun is warm, shade is cool, and automatic white balance can scrub both into something neutral and dull. Keep the cast when it tells you what the light was doing.
For finished frames rather than advice, the portfolio is the place to see how these choices add up, one street at a time.
Frequently Asked Questions
What lens works best for old buildings on narrow streets?
A standard zoom covers most of it. A wide lens helps you fit a tall facade into a tight lane, but keep it level or the walls will lean. A short telephoto is the better second choice, since it compresses rows of windows and picks out balconies you cannot reach.
When should I shoot a historic street?
Early morning and the hour before sunset give the angled light that shows texture. Overcast midday is fine, and the twenty minutes after sunset are the most generous of all, because sky and street lamps balance on their own.
Do I need a tripod?
For blue hour and dim interiors, yes — it keeps the sensitivity low and the detail clean. On busy lanes and at many historic sites tripods are restricted, so check the signs and be ready to work handheld at a higher setting.
Why do my buildings look like they are falling backward?
You pointed the lens upward. Step back, keep the camera level, and accept losing the roofline; straightening later helps a little, but it cannot rebuild a frame where the geometry was never captured.
Is it fine to photograph people in these neighborhoods?
In public space, generally yes, but read the room. Silhouettes and passers-by in the distance are easy. For a close portrait, ask first, and stop if the answer is no.